Morphing
7-23-2003
Cleaning up and commenting all of the morphing code. I have added a significant amount of comments and function descriptions. I'm also working on the powerpoint presentation for morphing. Here is what I have so far.
ImageMorphing.ppt
imageMorphMultiLine.py
Left to do:
Create zip file of all code, example pictures, and documentation.
Incorporate movie code into morphing.
7-16-2003
Working on simpler image morph, but no good results quite yet. Will continue to work on it if other method is still too complex after further and hopefully more clear explanation. Attached is an example of the vector operations used to calculate the pixel coordinates.
example.py
If explanation is clear enough, I would like to devote the rest of my time to documenting the image morph code heavily, and providing a user guide with examples.
7-9-2003
Code: imageMorphMultiLine.py
Morphing Examples:
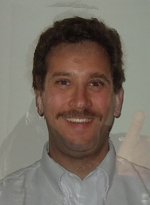
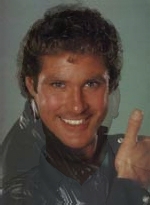
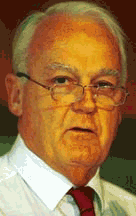
Mark to David Hasselhoff: This morph was performed over 3 frames using 7 feature lines from each image. The lines were across the eyes, nose, mouth, and hair.
Processing Time: Approx. 13 minutes on P4 1.5 Ghz

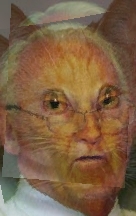
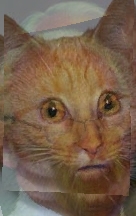
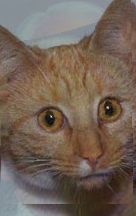
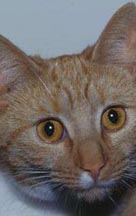
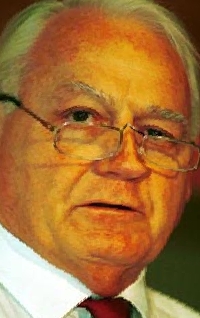
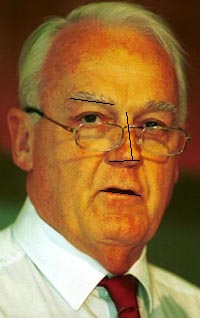
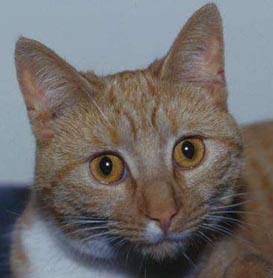
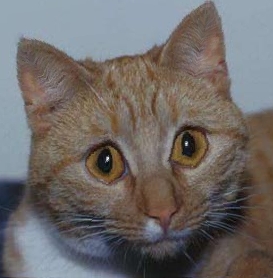
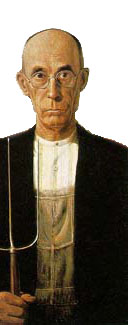
Man to Cat: This morph was performed over 5 frames using 4 feature lines in the man and cat images. The lines were placed on each eye, the nose, and mouth.
Processing Time: Approx. 13 minutes on P4 1.5 Ghz
More feature lines and frames provide smoother morphs, but take significantly longer to process.
7-2-2003
PROGRESS!!!
I reworked some of the morphing code and here are some of the results:
| Original | Warped | Feature Lines Original | Feature Lines Warped |
 |  |  |  |
 |  |
The code works with multiple feature lines to distort the image, and interpolates the lines over frames. I am still working on combining the line interpolation used for warping with the cross-dissolve which blends one image into another. Currently I have each working, but not yet integrated.
Here is the code so far: imageMorphMultiLine.py
I still need to do some cleanup, commenting, and more coding.
6-25-2003
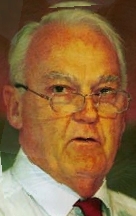
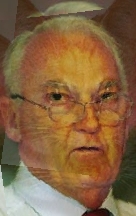
Here is what I have so far for the image warping part. So far it doesn't look pretty. My math is off somewhere, but I haven't tracked it down yet.
Based on the line coordinates I used, this should have shrunk the man's head; however, you see it merely smeared diagonally across his face...
| original | warped |
 | manmorph.jpg+ |
Brainstorming ways to accomplish this "easily."
Two Effects at the Same Time:
Fading
This is already implemented in one of the slide transitions I wrote. This fades one image into another over several frames.
Warping
I need a way to allow the students to draw "feature points" on each image to implement the warping algorithm needed to provide the most realistic effect. The feature points are moved towards each other over a series of frames.
I know there is a way to draw lines with JES using code, but is there an easy interactive way other than using Java MouseListeners, etc.?
Derek
Links to this Page
- Sum03 Course Materials last edited on 20 November 2003 at 11:40 am by guzdial3.cc.gatech.edu
- Derek last edited on 29 July 2003 at 9:24 pm by adsl-155-251-130.asm.bellsouth.net