


How do you set system variables for leJOS?
See http://lejos.sourceforge.net/tutorial/getstarted/firstbrick/win32.html for current instructions in the tutorial.
The below instructions are for Windows XP.
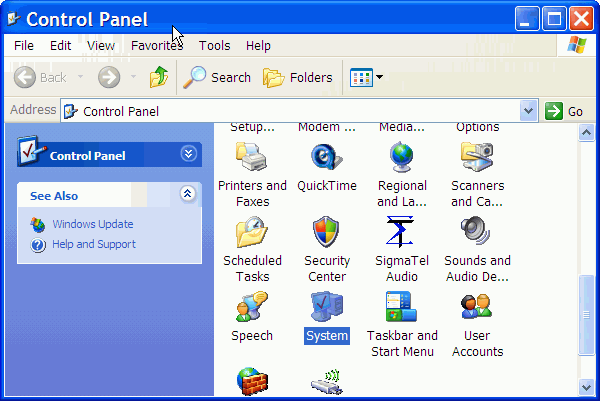
Click on Start-> Control Panel -> Double click on System
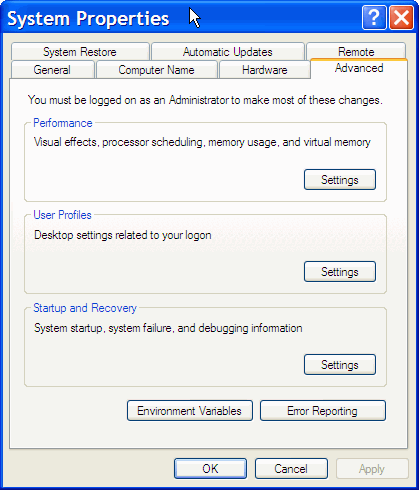
In the Advanced Tab click on the Environment Variables Button
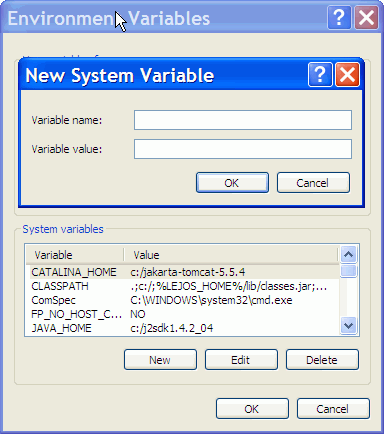
Click on the new button under System Variables (near the bottom of the window)
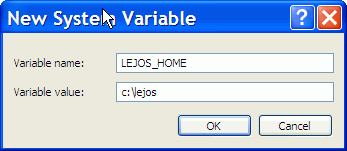
Type in LEJOS_HOME for the variable name and the directory that you installed lejos into for the variable value. When you are done click on OK.
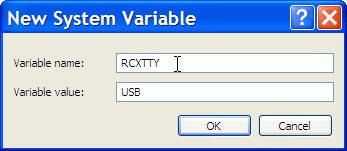
Click on the new button under System Variables again and this time
type in RCXTTY for the variable name and USB for the value.
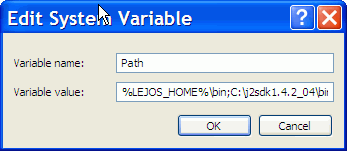
Click on the PATH variable and then click on the edit button. Add
%LEJOS_HOME%\bin and the path for the Java SDK bin directory.
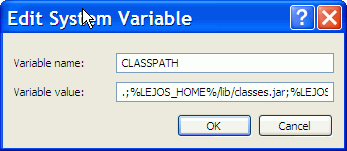
Click on the CLASSPATH variable if there is one and edit it and add the path to the classes.jar and pcrcxcomm.jar. If there isn't one add one and set it to
.;%LEJOS_HOME%\lib\classes.jar;%LEJOS_HOME%\lib\pcrcxcomm.jar
Link to this Page
- Questions last edited on 30 January 2006 at 1:29 pm by user-11216ng.dsl.mindspring.com


